4 STEPS TO REMOVE GRIME & INCREASE PERFORMANCE

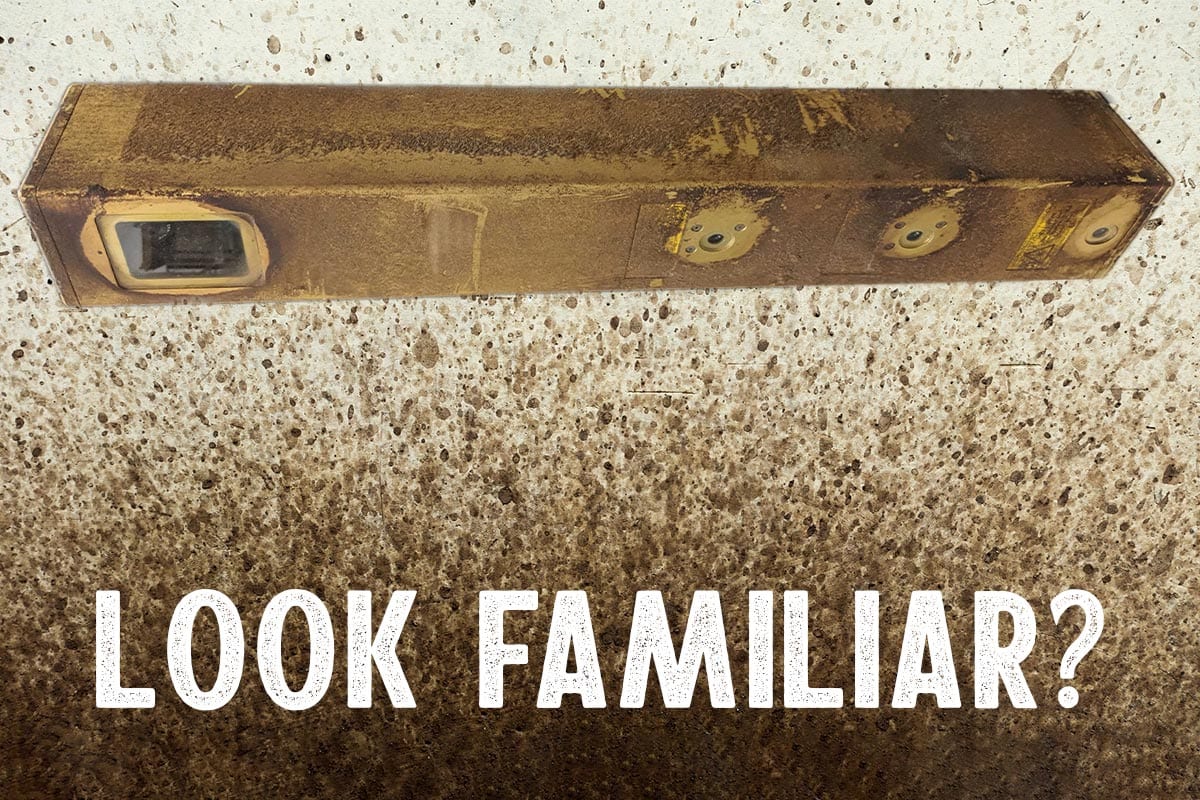
It takes a new scanner an average of 3.4 seconds to get absolutely filthy in a sawmill.
Even if the above statistic is slightly fabricated, it’s a well-known fact that scanners in sawmills tend to get dirty. If this grime covers your laser or camera windows, it can drastically affect your scanner’s ability to deliver precise measurements.
We’ve put together this handy guide to getting the worst gunk from the scanners in your sawmill. Remember, a clean scanner is a happy scanner!

These are the tools & supplies we’ve come to trust for cleaning scan heads over the years. Fun fact: each scanner that comes in for a repair gets a free trip through the “JoeScan Scanner Wash”.
- Simple Green Cleaning Solution
- Razor Blade
- Lens Cleaning Wipes

Simple Green Cleaning Solution
Simple Green is our repair shop’s secret weapon for fighting sawmill grime. It cuts through tough caked-on crud without overly harsh vapors. It does however have a rather pungent licorice-y aroma, so your mileage may vary as to how much you like the scent.
We use regular brown paper towels with simple green, but any clean rag will do.

Razor Blade
A fresh razor of any type is a great tool for taking off thick layers of gunk. You may want to use a scraper handle with your blade so it’s easier to handle.
Just be sure to use long, smooth strokes to keep from scratching your scanner.

Lens Cleaning Wipes
Lens cleaning wipes are great for that last wipe down on the laser and camera windows. They leave smudge and streak-free glass that’s ready to get scanning. You can also use regular Windex if you don’t have any wipes on hand.
Extra bonus: toss a packet in your pocket for cleaning your eyeglasses or sunglasses once the scanners are done.

Part of selecting the right tools is knowing which tools you SHOULDN’T use for a job.
For cleaning scanners, abrasive products such as steel wool or Scotch Brite pads can do more harm than good. Abrasive materials can permanently scratch the windows of your scanners, which will degrade performance.
Remember, the whole point of cleaning the scanner is to give the cameras and lasers a clear line-of-sight to the wood you need to cut!

It seems that no matter where you place your scanners, sap and sawdust WILL accumulate on the windows. Keeping windows clear is important for scanners to project their lasers and see the wood they are scanning.
We recommend using lens wipes to clear small amounts of grime from scanner windows. For more stubborn stuck-on gunk, you may want to soak the area with Simple Green before wiping it away.
Finally, for the stickiest sap and sawdust combinations, you may have the best luck using a razor blade. Just remember to use smooth strokes to keep from scratching the glass. You want to “peel” the gunk away in one long sheet, not chip away a tiny bit at a time.

Our scanners are made with industrial-grade anodized aluminum housings, so they aren’t afraid of getting dirty. However, you may find it’s easier to keep the windows clean if you clear away foreign material from the metal body on a regular basis.
Gunk tends to attract more gunk, so focus on the areas of the body around the windows. We love the Simple Green for this step.
And as you’ll see in this video, a razor blade can make short work of thick layers of debris on the scanner body.
Proper scanner scraping technique.

Setting a regular cleaning schedule will ensure your scanners are never under-performing because of built-up crud and dirty windows. How often you will want to clean them depends on where they are located and just how quickly your scanners get dirty.
For scanners located underneath cutting areas, you might find they are getting covered in sawdust very frequently. Some mills have reduced the amount of cleaning they have to do by installing air-knives or other positive pressure systems to blow debris away from the scanners.
Wrapping it up
Does your sawmill have any special methods or tips for cleaning your scan heads? We’d love to hear them! Please feel free to share in the comments below.


Leave A Comment
You must be logged in to post a comment.